Friday, April 30, 2010

say hello to chi-kore

P4300009

Now he's not the original Chi-kore, but a very close relative...

And the pattern is finally available for sale


P4300003

  • this quirky creature stands approximately 27cm tall

  • the project is worked in pieces, with clear and specific assembly instructions

  • pattern is presented in table format, making it very easy to follow

  • US crochet terminology used throughout

  • 15 pages, 15 clear photographs

  • AU$4.50 for PDF version


P4300008

Thursday, April 29, 2010

pin cushion

Sometimes it's fun to allow a project to morph into whatever it wants to be.

embellished pin cushion

This pincushion started life as a wing for a bird, cut from a felted jumper and trimmed with a blanket stitch edging.

But I decided not to go ahead with that plan... so it lay around wastefully for a while.

A lonely, single wing.

Then I was wanting a hat embellishment, so I added a scrappy flower in green felt... with a few french knots in the centre.

But I trimmed the petals too closely together, and they pulled off really easily.

Never mind.

I added a few more french knots, and now it makes a perfect pin cushion!

Wednesday, April 28, 2010

my craft zone

2

I'm finally done.

For the moment, anyway!

Remember the mess that was my craft room?

Well...

That room was transformed back into a study again, and I have moved my goodies downstairs into the family room.

Not the ENTIRE family room.

Just a wall of it, really.

It's perfect, because I can be around the family while I work.

Rather than tucked away in a room upstairs with the door closed.

1

See the kitchen is at the top left, the living area at the bottom left, and the meals area at the bottom right... so I'm close to all the action!

And I have this theory, that because my craft zone is now on full display to the entire family, and any visitors to our home... that I will simply HAVE to keep it tidy

It's a theory anyway, and I'll let you know how it goes!

Here's the yarn supply...

5

Belts and scarves on display, so I can easily find just the right one for a project...

4

Books and other storage...

6

Lots of baskets for storage... yes I am totally obsessed with cane baskets

13

14


15

Somewhere comfy to sit, and a big basket full of UFOs...

16

And of course there's a ready supply of recycled cardboard and paper...

17

Tuesday, April 27, 2010

sewing machine cover?

3

Tidying my craft desk the other day...

And I draped my freeform crochet piece over the sewing machine...

I kind of love it there!

Pretty and practical!!!

I'm thinking of adding some more to it, so that it covers the machine completely...

Monday, April 26, 2010

another example...

29

here's another embellishment, photographed as it comes together

a small felt heart
17

unply some yarn, because it would be too chunky otherwise
18

use one strand to blanket stitch around
19

20

add a button
21

needs something more
22

colour behind? yes... but not this one
23

I prefer this colour
24

cut into a heart
25

but it doesn't look shabby enough...

so:

snip around the edges
26

still not shabby enough

moisten and scrunch
27

ahh.... that's much better
28

sew together... and voila!
30

29

Sunday, April 25, 2010

embellishing your work...

16

I know that you hear me talk about it a lot... but have you ever wondered what this EMBELLISHING thing is all about???

Essentially, it is DECORATING

or ADORNING

or MAKING IT LOOK PRETTY...

But the big question is:

HOW DO YOU DO IT???

It's kind of hard to explain.

I know that doesn't help any, but it's kind of one of those thing where you just KNOW if what you're doing is right or not.

Which must be really frustrating if you are one of those people who doesn't jusk KNOW.

The good news is... that you can learn by experimenting.

That's how I taught myself.

It didn't just come naturally to me. In fact, I've only really learned to do it in the last few years.

In the past, I was always a pattern girl. There was no way that I would attempt ANYTHING without a pattern. Even if the pattern seemed to be wrong, I would still follow it. Because that's what the pattern said to do.

I wouldn't have embellished anything, unless the pattern said to.

And it would have to tell me EXACTLY what to do. Which shade of red felt I should use. What colour of cotton. Which size of sewing needle. Exactly what size of button, and where I should buy it from. How many stitches to work through the button eyes.

You get the picture.

Then, after my third child was born... I developed an interest in scrapbooking.

Which is basically cut and paste for grown ups.

I learned that I didn't need to know exactly what I was doing before I started.

I could change my mind as I went along.

I could experiment with different colours and textures and positions.

Nothing was set in stone. I could try an idea... and then change it if I didn't like it.

The novelty of scrapping wore off after a year or two... and I went back to my fibrecrafts.

But with a renewed vision.

I wanted to embellish everything!

Stuff the patterns... THIS IS MY WORK

I wanted to experiment with everything...

and I have...

(well almost)

Anyway... I've ventured off track a little, because this post was going to be a tutorial on embellishing.

But I'm not really sure how to teach it...

So, what I'm going to do is embellish a shabby hat... and show you the steps that I go through, mostly with photos

(the hat pattern is here if you haven't seen it yet)

okay...

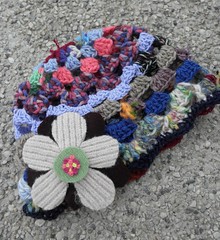
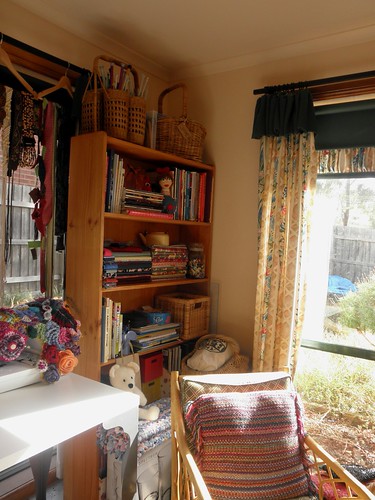
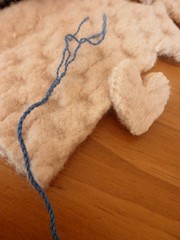
so here's the hat to start with:
1

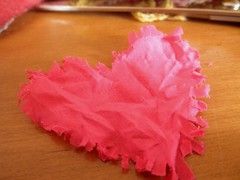
and I'm thinking a flower would look nice

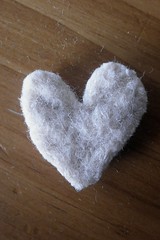
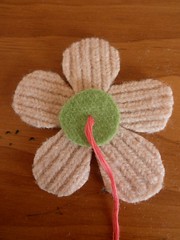
I've chosen a cream felt

and cut out 5 teardrop shapes for the petals - they're not identical, but that's okay
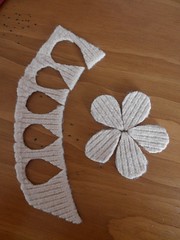
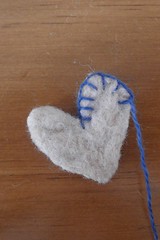
2

join them together
4

5

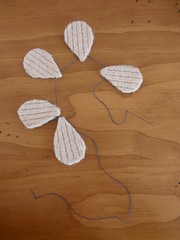
and don't worry if the back is untidy
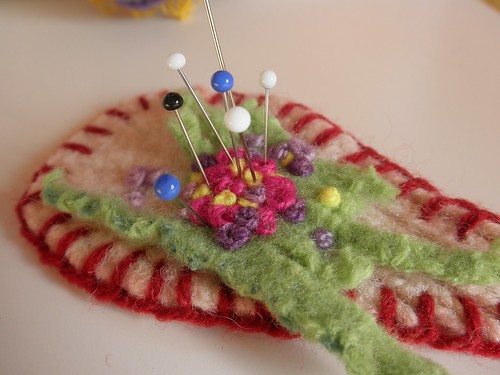
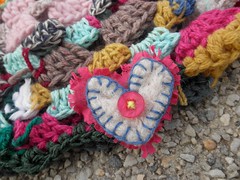
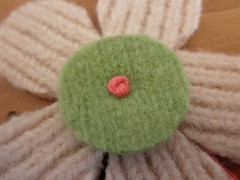
6

add a centre
3

and some french knots - just because I am obsessed with them at the moment
7

8

9

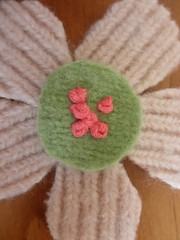
and some more french knots
11

and a few more, just for good measure
12

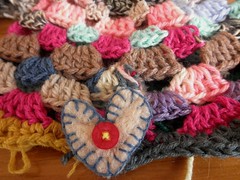
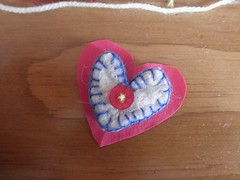
now for a background for the flower, just to give it some lift

trace around the flower (fabric is actually a really deep burgundy, but photographed very oddly)
13

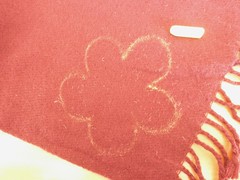
cut it out, and pop it behind
14

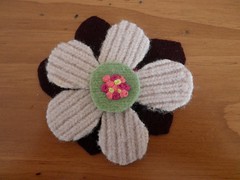
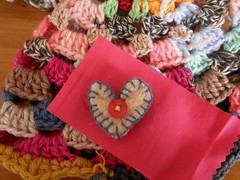
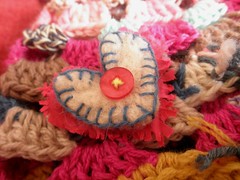
stitch together - remember, it DOESN'T MATTER what the back looks like
15

and here it is
16

Friday, April 23, 2010

columns...

joining columns

So I've started joining.

I'm using what I call a ZIG ZAG join.

Don't know if that is the proper name for it or not, but you simply work a zig zag of stitches back and forth between the two edges which you are joining.

It's a bit hard to tell in the photo below, but all of my columns of zig zags are completed

columns done